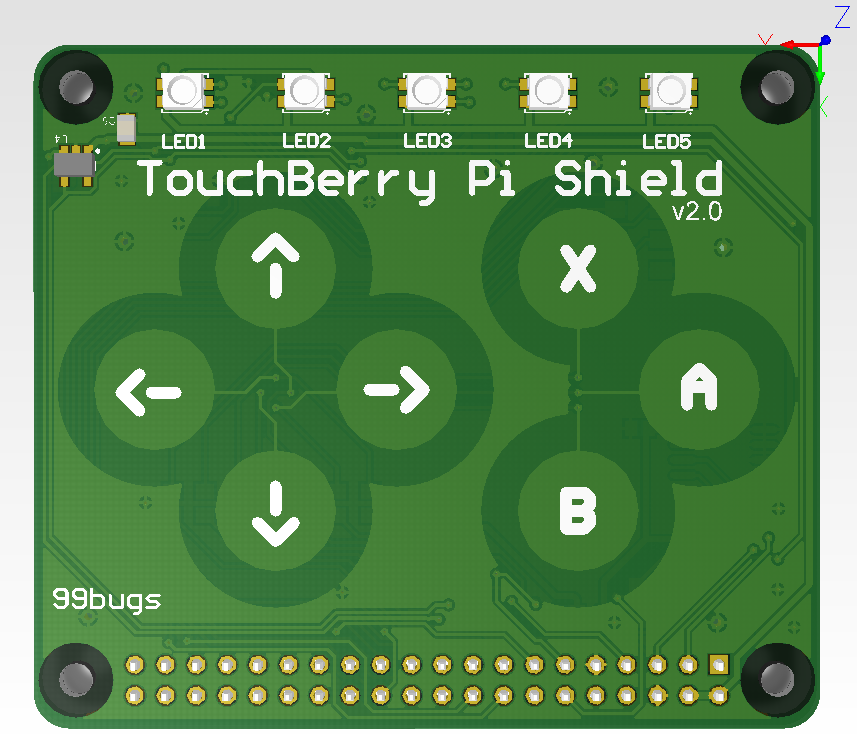
The TouchBerry Pi Touch
The Touchberry Pi shield has been equipped with a capacitive touch sensor (AT42QT1070) and some PCB pads attached to it.
The Touchberry Pi shield class
The communication between the capacitive touch sensor and the Raspberry Pi is realized via i2c. A driver for this is supplied by us and accessible via the TouchberryPi class.
A UML diagram of the TouchberryPi class is shown below.

Before you can use the touch interface you will need to import some classes into your application.
from touchberrypi import TouchberryPi
from touchberrypi import TouchKey
To make use of the shield driver you will need to make an object of the TouchberryPi class.
shield = TouchberryPi()

Getting Notified of Touch Events
When someone touches one of the pads of the Touchberry Shield an event is generated. At the moment this event is ignored by our library. However you as a user of the TouchberryPi class can ask the shield to get notified of these events by registering a method that needs to be called when the event happen. We speak of registering a callback method.
Let us for example register a callback method when a pad is being pressed.
- Creating a method that needs to be called when a key is pressed:
from touchberrypi import TouchberryPi
from touchberrypi import TouchKey

def on_key_down(key):
    print("Key {} down".format(key))
Do note that the key that is pressed needs to be passed as an argument to the event handler.
- Next we need to create a
TouchberryPiobject and register our method as a key event handler. Do make sure to place the variable above theon_key_downmethod as later on we will need to be able to access it from inside the method.
from time import sleep
from touchberrypi import TouchberryPi
from touchberrypi import TouchKey

shield = TouchberryPi()

def on_key_down(key):
    print("Key {} down".format(key))

shield.on_key_down(on_key_down)
- Last we need tell the shield to start capturing touch events. This is achieved by calling the method
start_touch_listener()on the shield and passing the check interval in seconds (can be a float - smaller intervals make it more responsive). An endless loop was also added to ensure the script keeps running.
from time import sleep
from touchberrypi import TouchberryPi
from touchberrypi import TouchKey

shield = TouchberryPi()

def on_key_down(key):
  print("Key {} down".format(key))

shield.on_key_down(on_key_down)
shield.start_touch_listener(0.1)

while True:
  sleep(1)
- Now we can check which key was pressed by checking the key argument as shown below. The key needs to be compared against the known enum values of
TouchKey.
from time import sleep
from touchberrypi import TouchberryPi
from touchberrypi import TouchKey

shield = TouchberryPi()

def on_key_down(key):
  print("Key {} down".format(key))
  if key == TouchKey.UP:
    print("Pressing the up key")
  elif key == TouchKey.DOWN:
    print("Pressing the down key")

shield.on_key_down(on_key_down)
shield.start_touch_listener(0.1)

while True:
  sleep(1)
- The same can now also be done for a key being released.
from time import sleep
from touchberrypi import TouchberryPi
from touchberrypi import TouchKey

shield = TouchberryPi()

def on_key_down(key):
  print("Key {} down".format(key))
  if key == TouchKey.UP:
    print("Pressing the up key")
  elif key == TouchKey.DOWN:
    print("Pressing the down key")

def on_key_up(key):
  print("Key {} up".format(key))
  if key == TouchKey.UP:
    print("Releasing the up key")
  elif key == TouchKey.DOWN:
    print("Releasing the down key")

shield.on_key_down(on_key_down)
shield.on_key_up(on_key_up)
shield.start_touch_listener(0.1)

while True:
  sleep(1)
Challenge
Change the code above to create a running light (aka Nightrider light). To do this you need to:
- Import the Led libraries (see previous guide)
- Create a variable to hold the current LED index (the one that is turned on)
- Use the
shield.set_ledmethod to turn off the current LED and turn on the next. Do this in the while loop - sleep for some time after changing the LEDs
Use the UP and DOWN key to increase or decrease the delay interval inside the while loop. Effectively allowing us to slow down or speed up the running light.
Use the X key to change the color of the running light. You will need to create a list of colors and keep an indexing variable.
The full solution can be found in the solutions section.